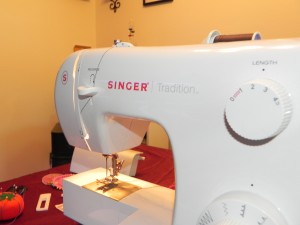
Repairing of some of the singer sewing machines can be done at home. Especially of the older models. The newer ones are technologically complex & need professional help in repairing them. Here are some of the steps of repairing your old & trusted singer sewing machine.
 STEP 1:
You have to first determine the model of the machine you are using. If it’s a really old one & you don’t have any clue as to which model it is, then look under the machine for info. Once you find that info, go to singerco.com to purchase a manual of that model if you do not have one. The manual would include all the info you require regarding that machine. This information would go a long way in helping you understand the problem of the machine & cure it.
STEP 2:
To diagnose the problem of your machine check the machine thoroughly. You can turn the hand wheel to see if it’s working properly, wind threads in bobbin, sew several test seams etc.
STEP 3:
Once you have identified the problems it is time to unscrew the machine & take it apart as far as you can. Remove all the screws carefully & try not to damage the machine. Keep all the screws carefully at a place so that none of them get lost. You will need them again after the repairing job is over to close the machine. Always remember to unplug the machine before dismantling it. Also remove the motor from the machine.
STEP 4:
It’s time to clean the machine. Get rid of all the loose threads & lints from the machine with the help of tweezers. Clean the bobbin area with a piece of soft brush. You can also use compressed air for cleaning purposes but resist from blowing into the machine since the moisture from your breath can corrode the machine easily.
STEP 5:
Use a piece of rag soaked in lubricant to clean all the moving parts of the machine. Use a dry cloth to remove all the lubricant.
STEP 6:
Now is the time to oil the machine. Use just a drop of oil for every moving part. Also put oil over the gears. Examine the machine thoroughly for any sign of wear & tear.
STEP 7:
If no damage is spotted by you then start reassembling your singer machine. After reassembling is done do a few test stitches to check if it is working properly. If you notice any problem with the gears or if any of the parts need replacement or if there is any sign of wear & tear visible then take your machine to a repair shop.
STEP 8:
Lastly use machine oil to rub the entire body of the machine to give it back the shine it had previously. If it’s a new machine then you can use a mixture of water & soap to clean the exterior of the machine. But try not put water on the metallic parts of the machine as it could easily corrode the machine.

Comments are closed.